In August 2022 VMware announced and introduced VMware Aria, a multi-cloud management portfolio that provides a set of end-to-end solutions for managing the cost, performance, configuration, and delivery of infrastructure and applications.
VMware Aria Suite Lifecycle™ (formerly known as VMware vRealize® Suite Lifecycle Manager™) is a software solution that helps you manage the complete lifecycle of your VMware Aria products through a single pane of glass. This topic will walk you through the process of installing VMware Aria Suite Lifecycle.
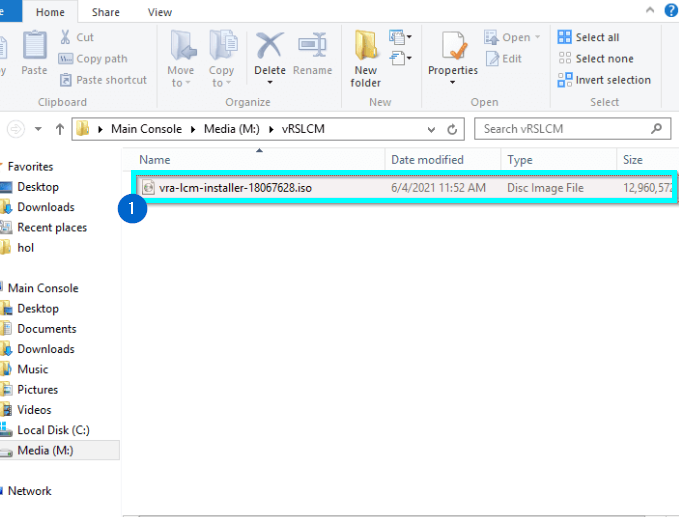
1. Click on the Installer ISO (file vra-lcm-installer-18067628.iso).
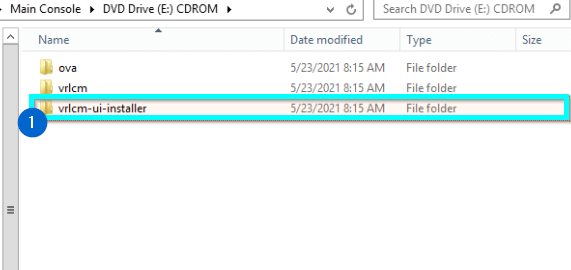
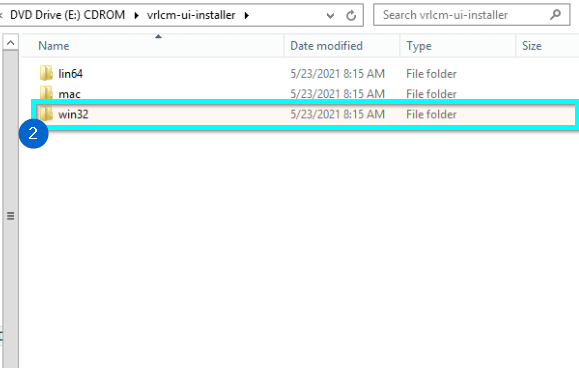
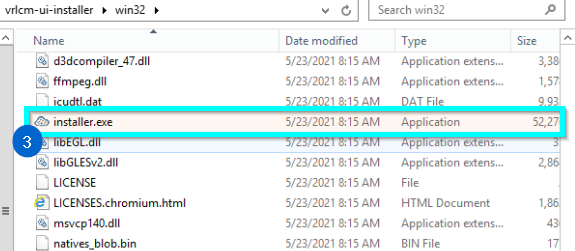
2. Mount ISO and the iso gets mounted on the drive and auto opens. Click on the vrlcm-ui-installer folder to open it. Click on the win32 folder to open it and click on the file installer.exe to launch the Easy Installer.
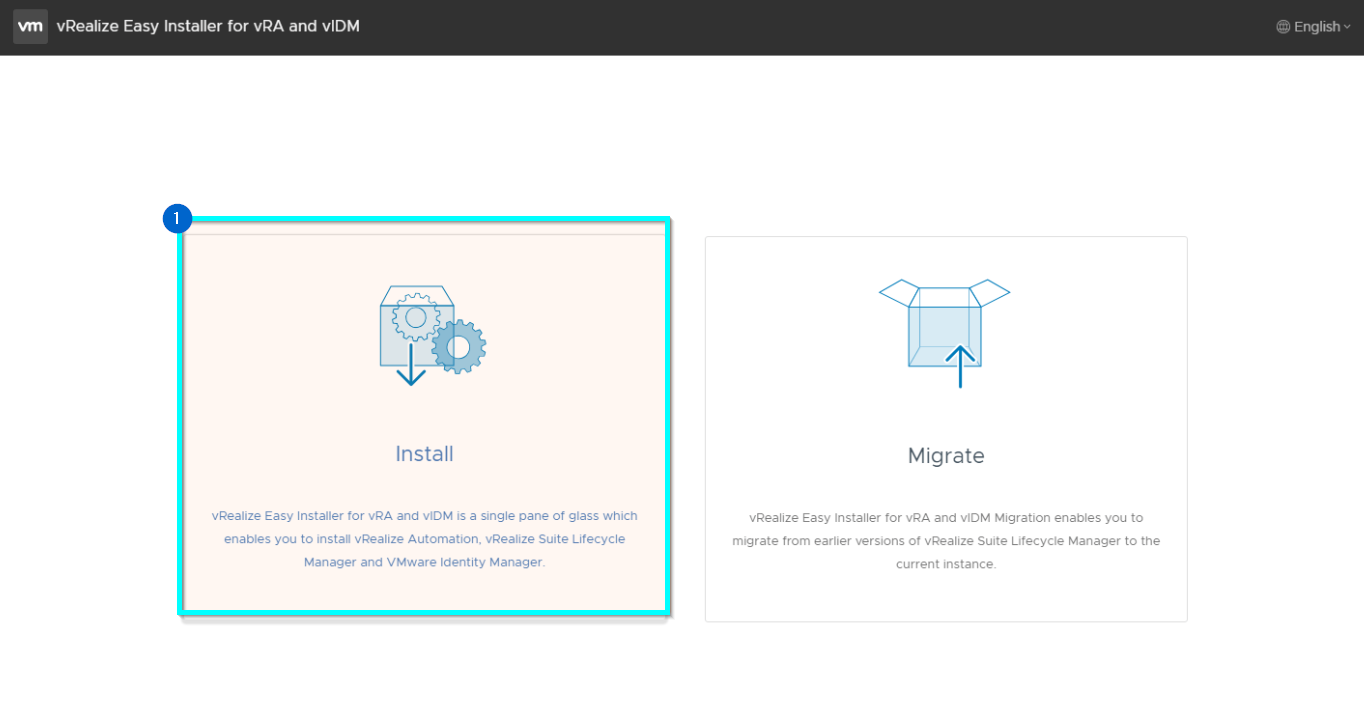
3. On left side, click Install.
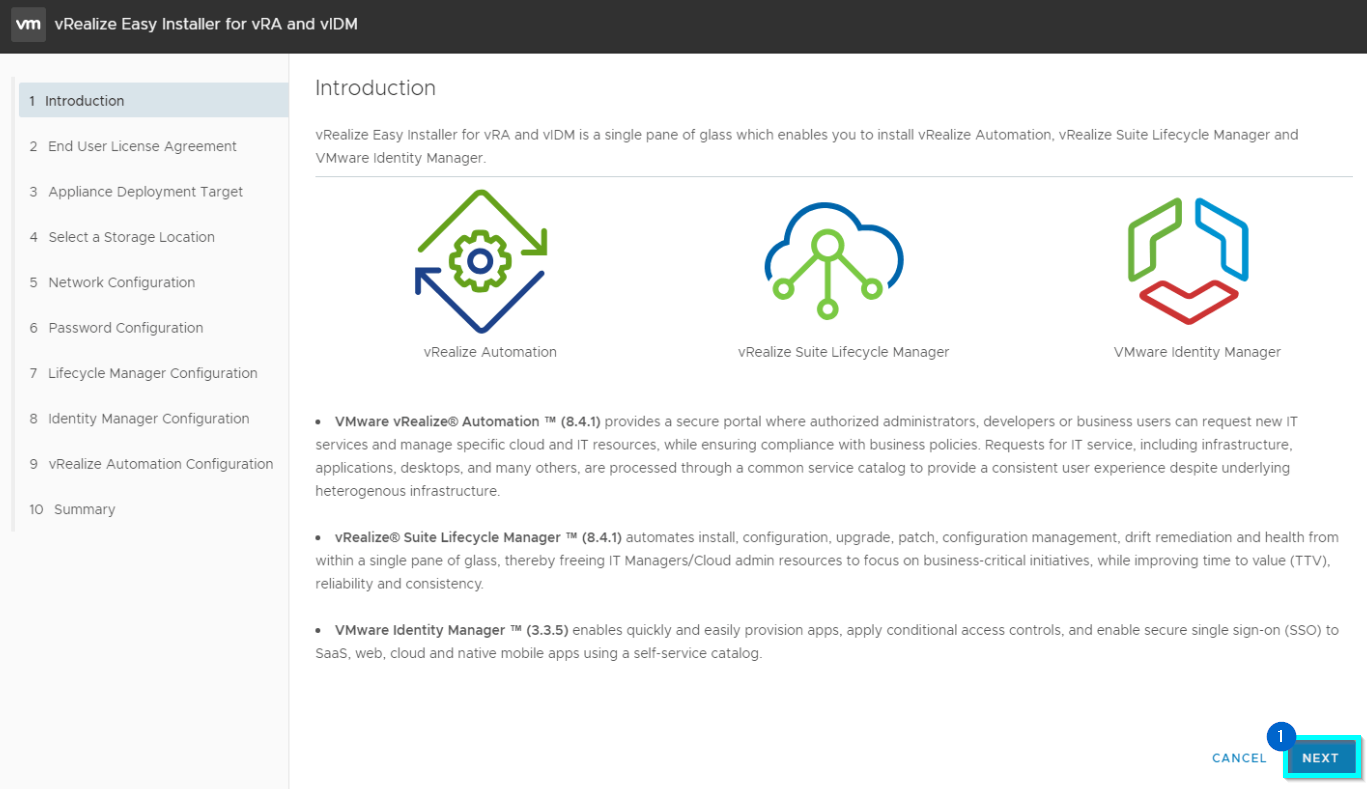
4. On the introduction screen click NEXT
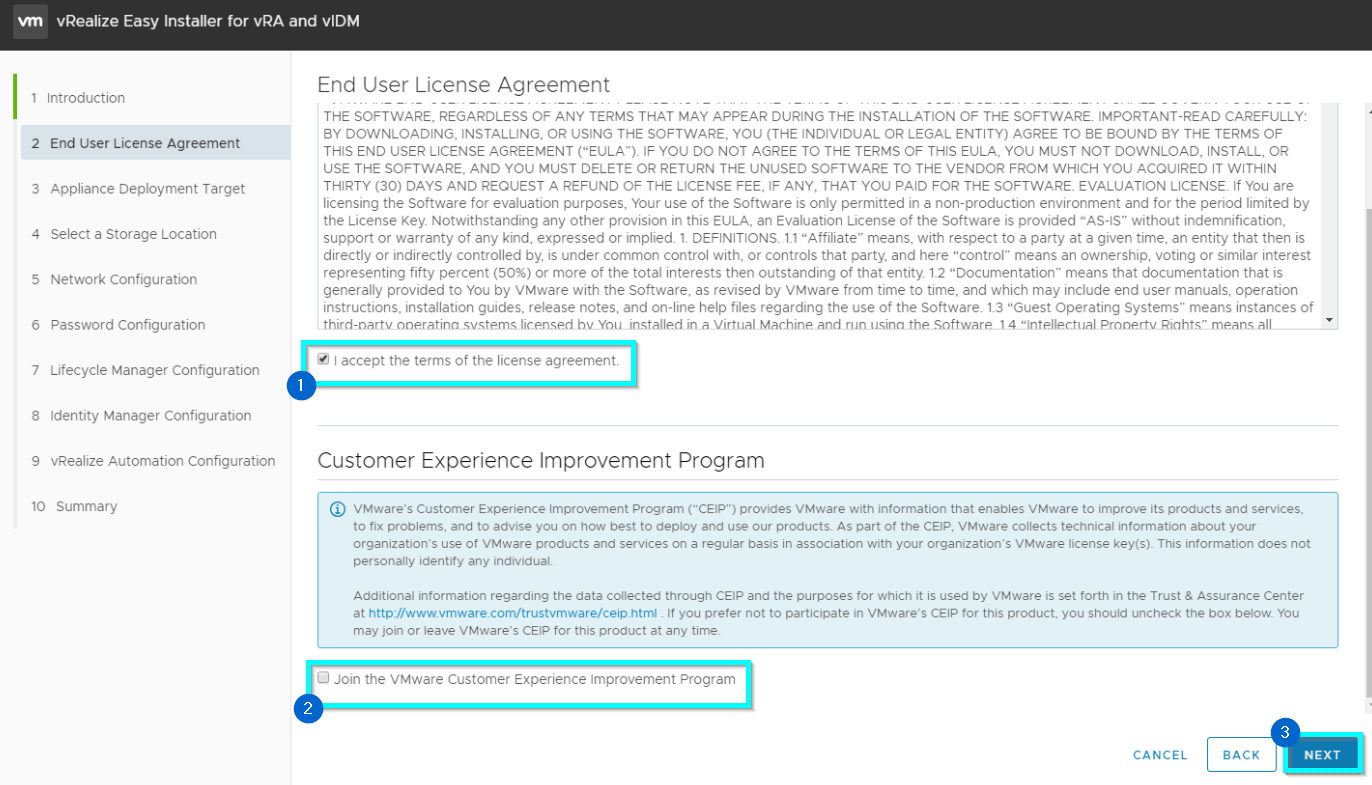
5. Click on the check box for I accept the terms of the license agreement. Decide if you want to check box to Join the VMware Customer Experience Improvement Program and click on the NEXT button.
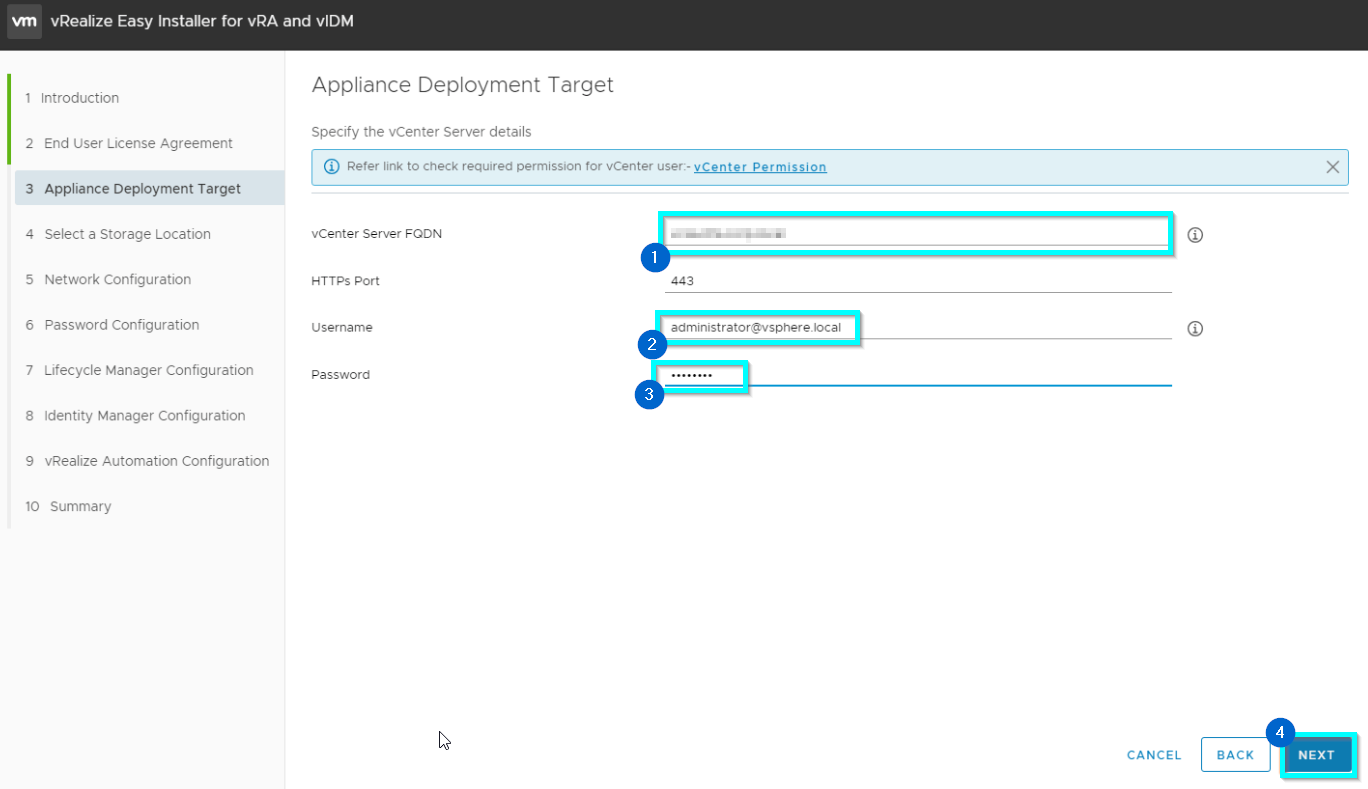
6. Fill your vCenter FQDN, username and password and click on NEXT.
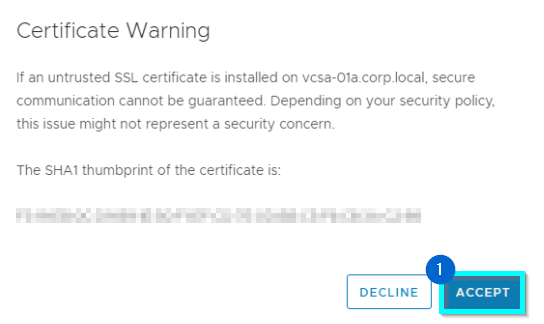
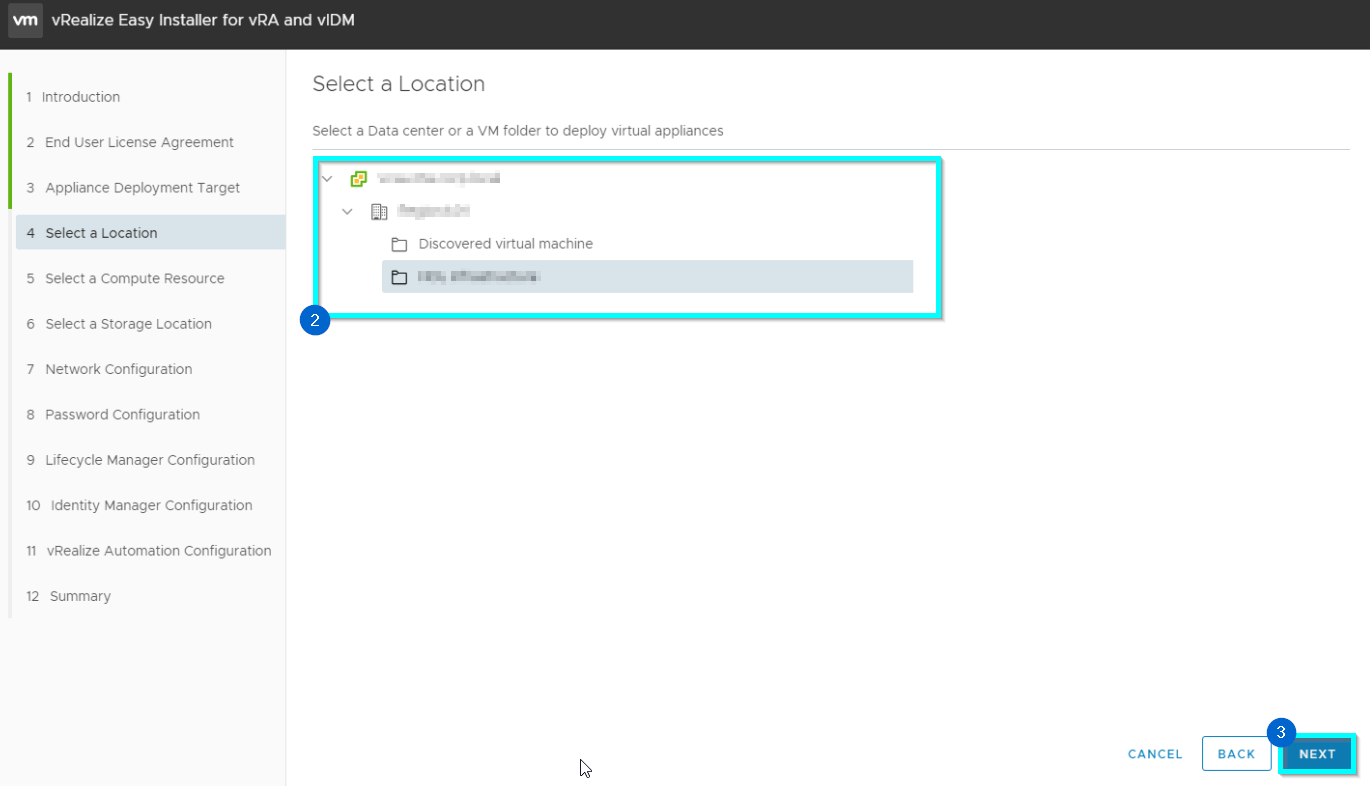
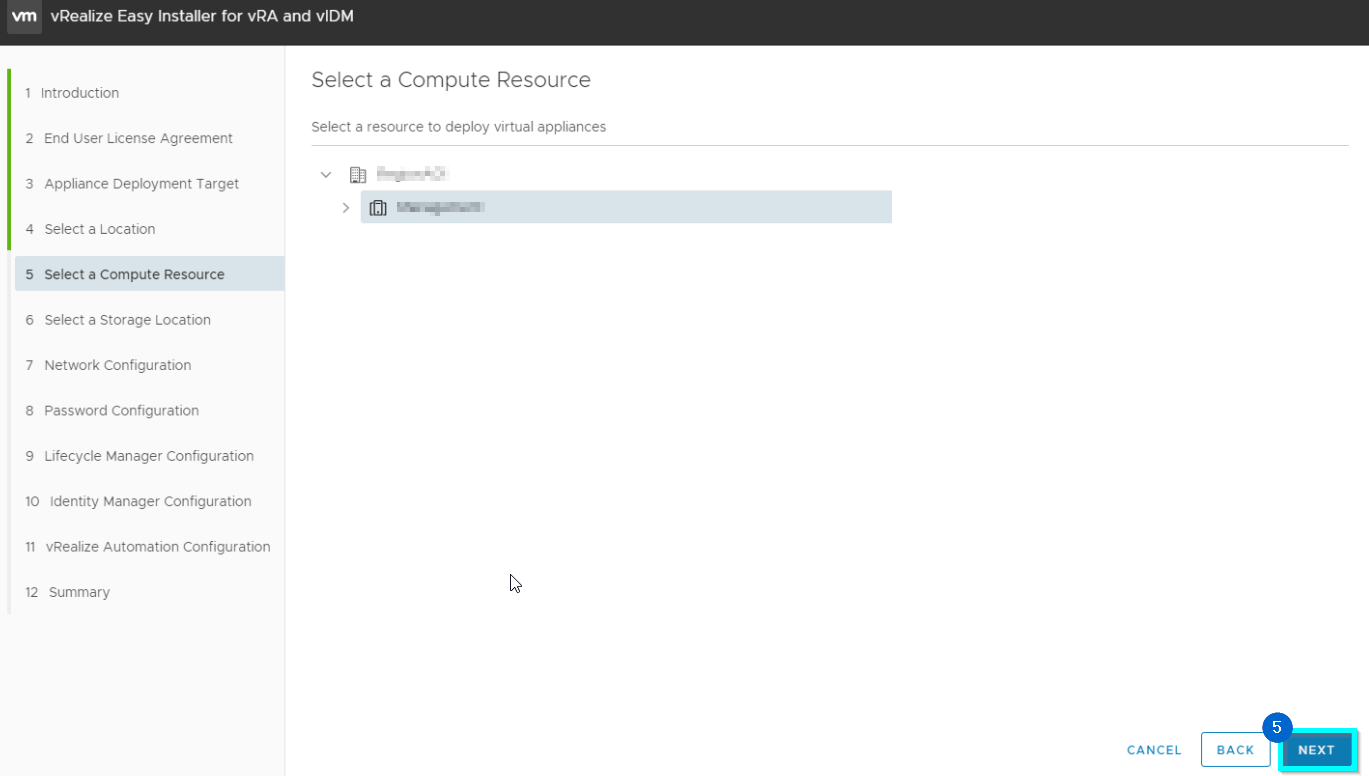
7. On the Certificate Warning pop-up, click on the ACCEPT button and in next window select your install location (Datacenter, Folder,etc.) and click NEXT and on next window select compute ressource.
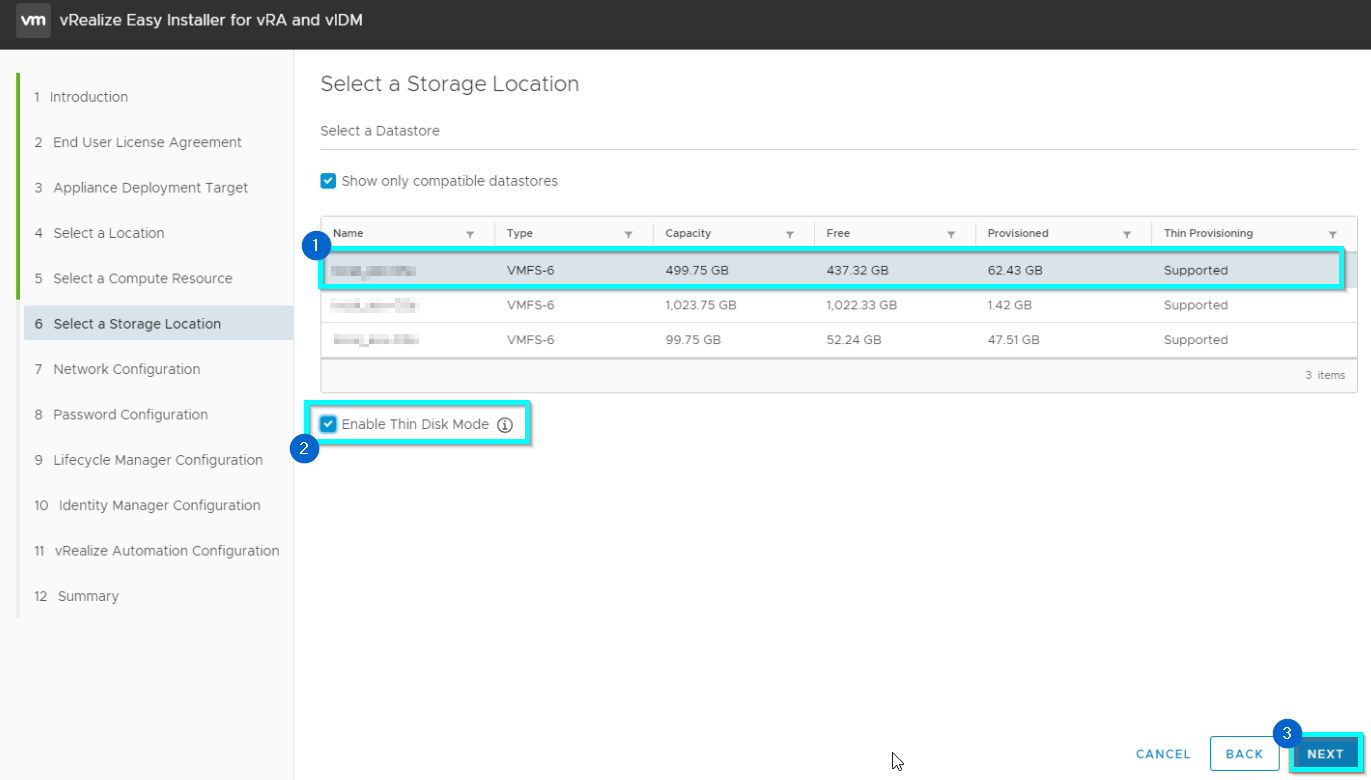
8. Select your datastore, choose between thin or thick disk mode and click NEXT
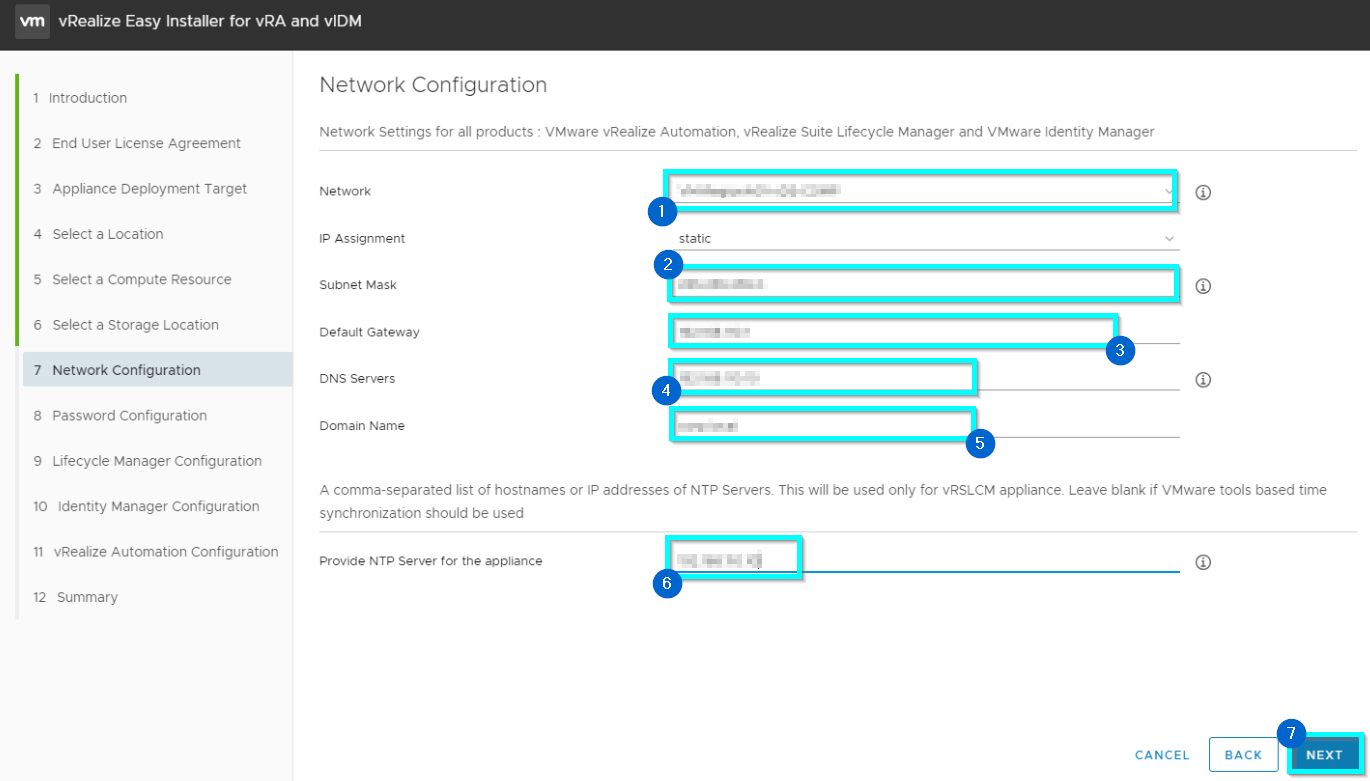
9. Configure your network settings and click NEXT.
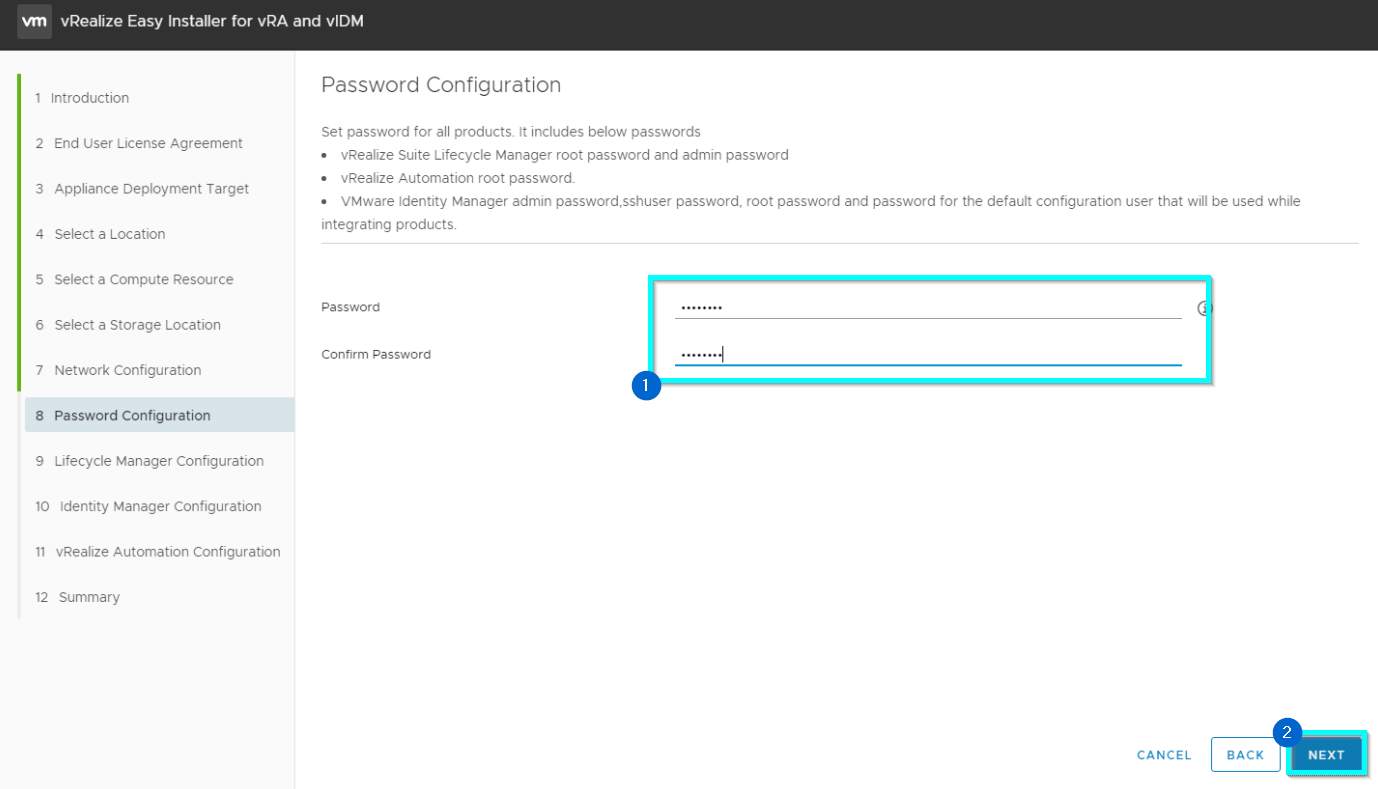
10. Next section will set an installation password that will be used for the root and admin account on our vRealize Suite Lifecycle Manager appliance. Fill in your password and click NEXT.
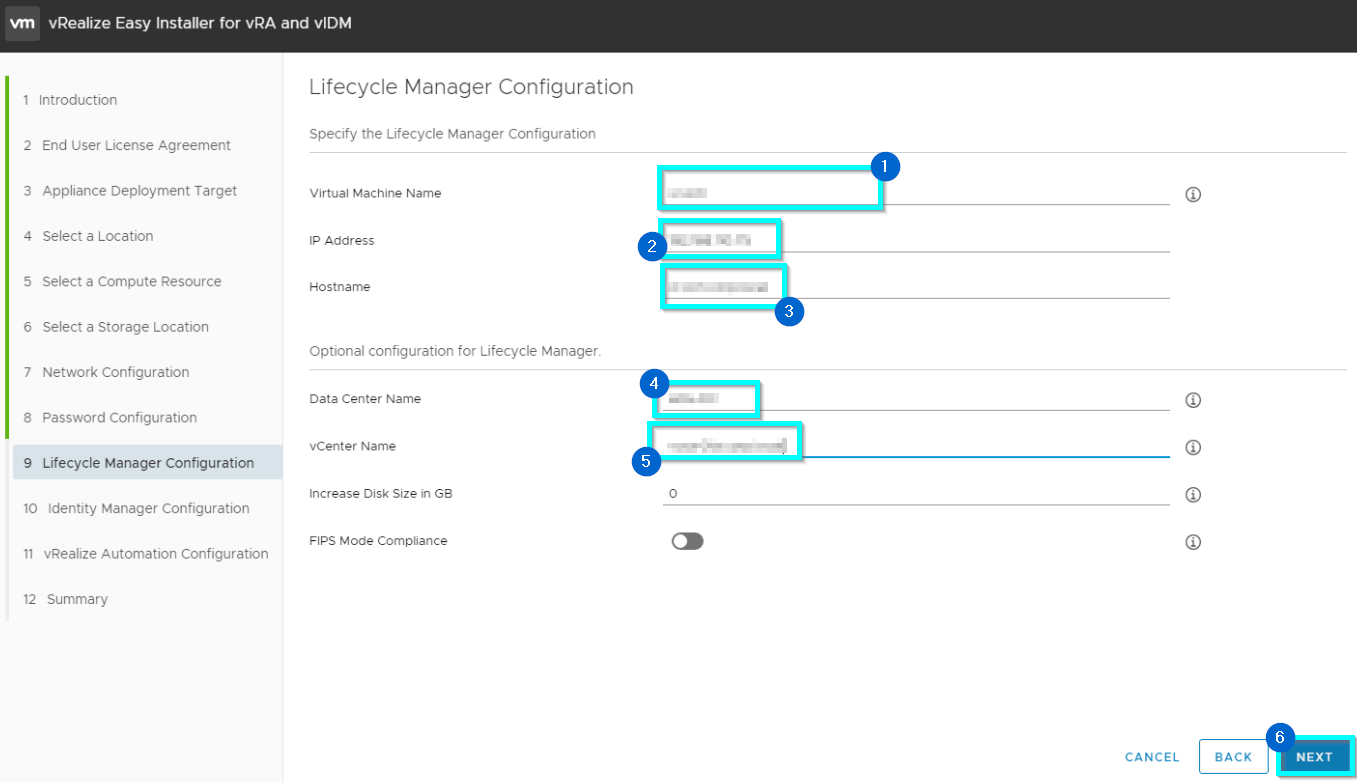
11. The final stage of the installer is to specify the hostname and IP address for the vRealize Suite Lifecycle Manager appliance. We can also specify some optional configuration to use for the initial datacenter and vCenter object names within vRealize Suite Lifecycle Manager when the installation completes. Click on the NEXT button.
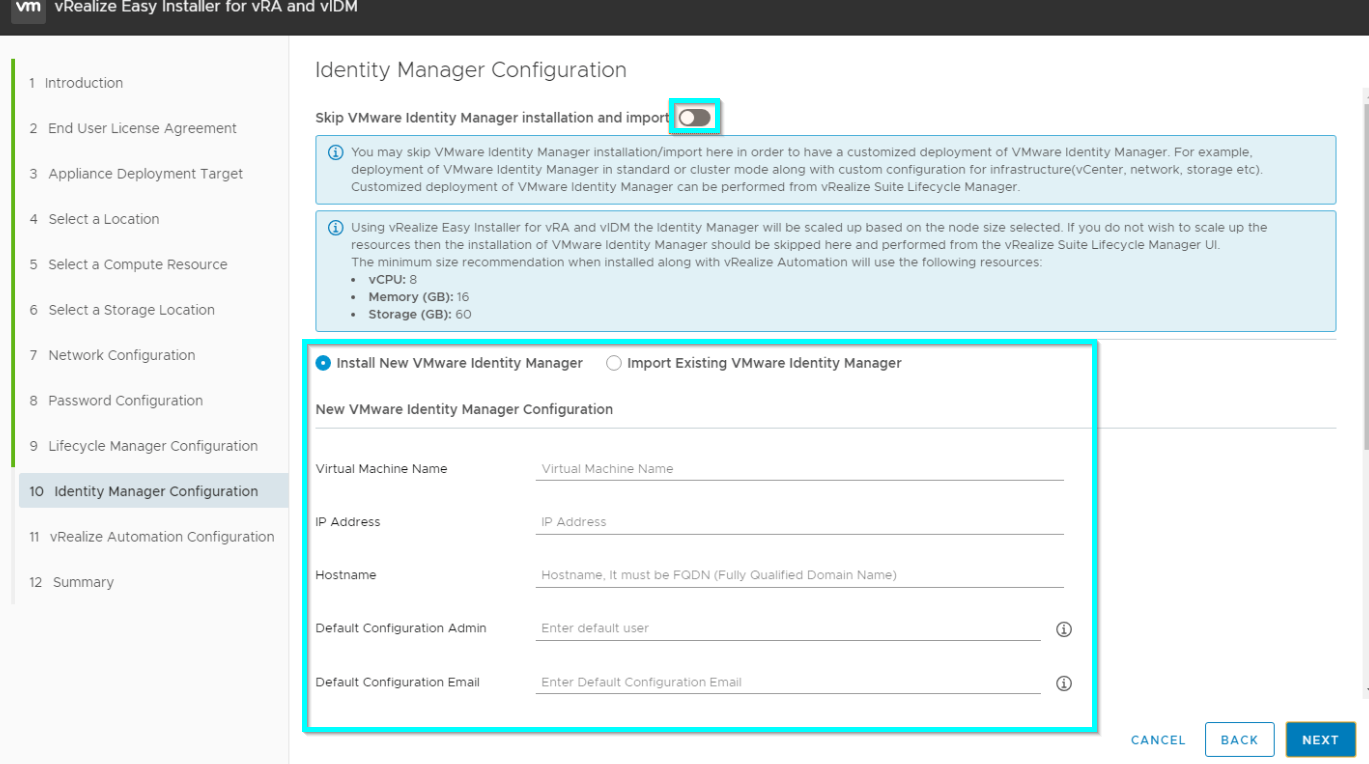
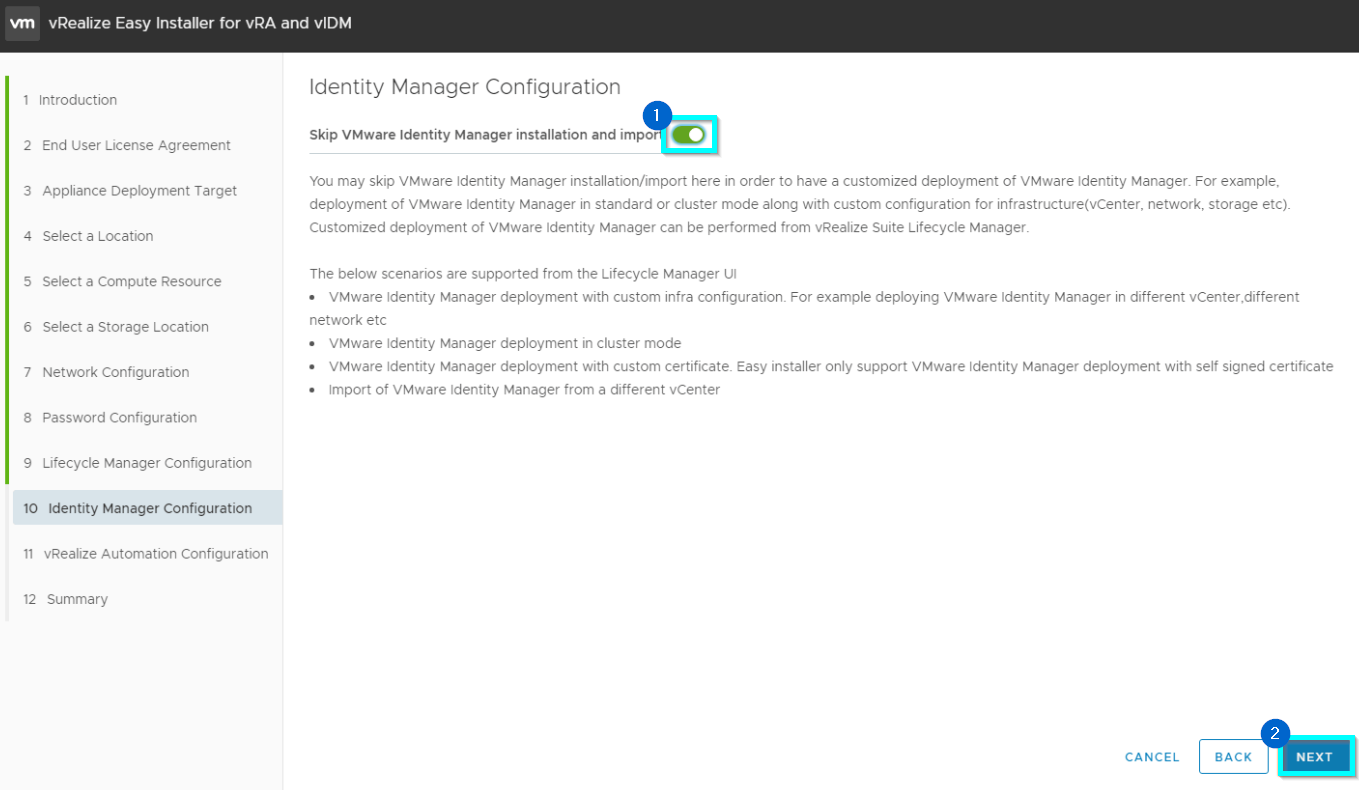
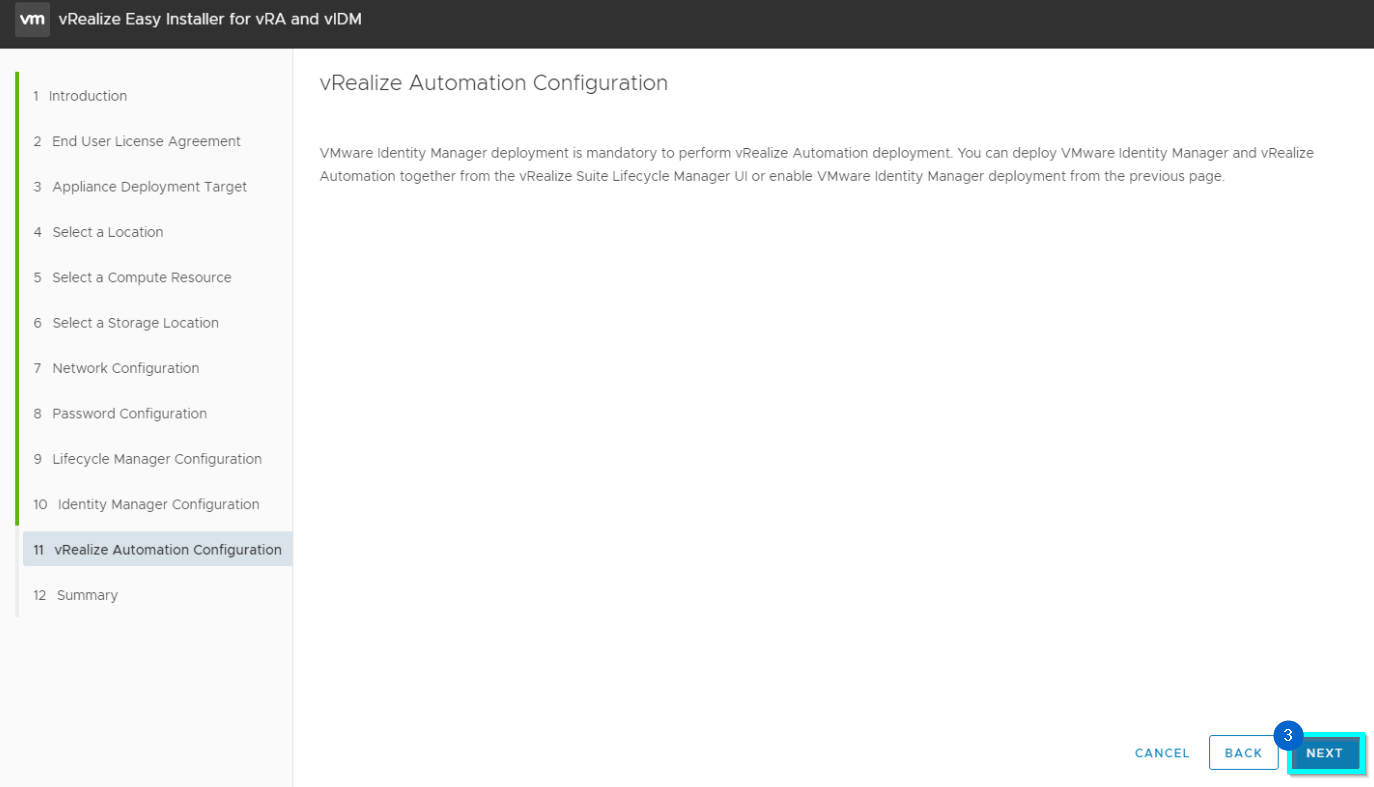
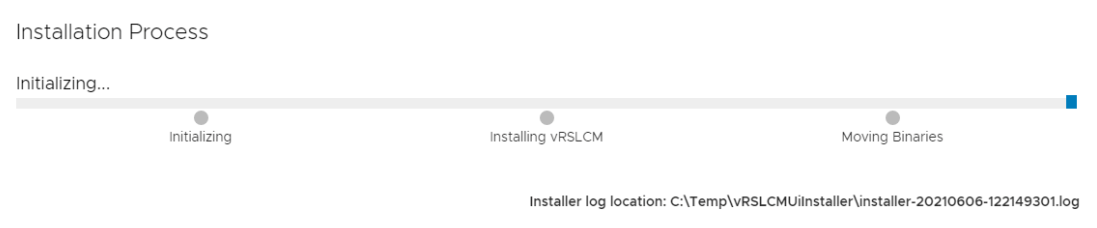
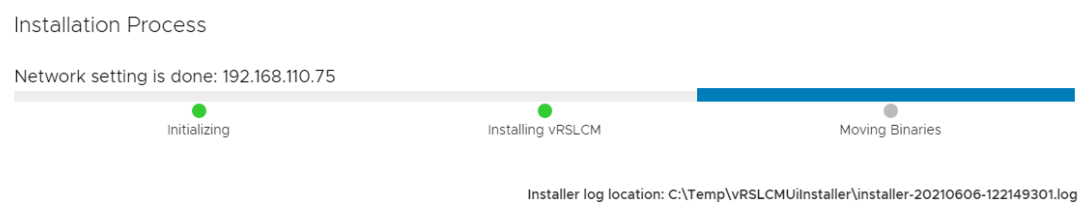
12. Now you can choose to deploy vIDM (Identity Manager), import existing one, or like in my case click on the Skip VMware Identity Manager Installation slider to disable the installation of VMware Identity Manager. Click on NEXT and on next window NEXT again. In following window check your summary and click SUBMIT.

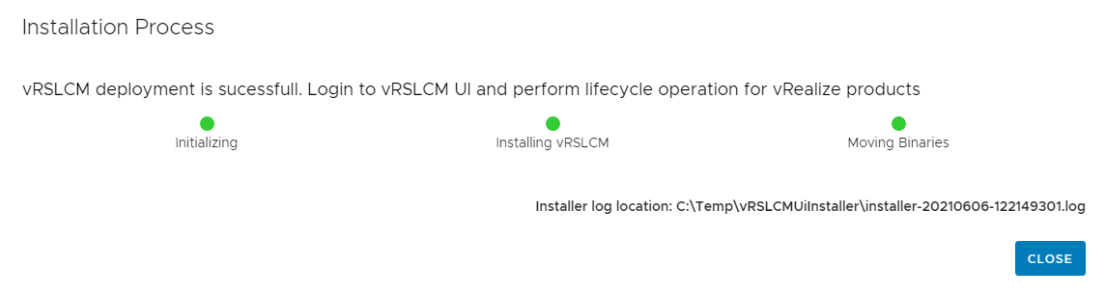
13. The various installation tasks start and can be viewed within the installation request window. This process can take some time to complete.
14. After the installation is finished, you should be able to log in to your newly deployed instance.